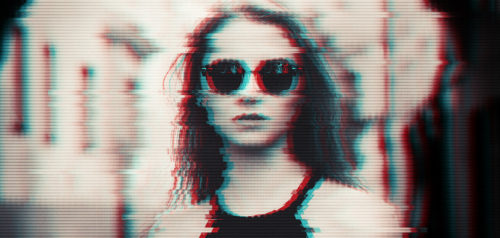
以前写真のグリッチエフェクトを作成しました。今回はテキストのグリッチエフェクトを作成しようと思います。
今回こちらのサイトを参考にして作成しました。
How to craft glitch text effect in Photoshop
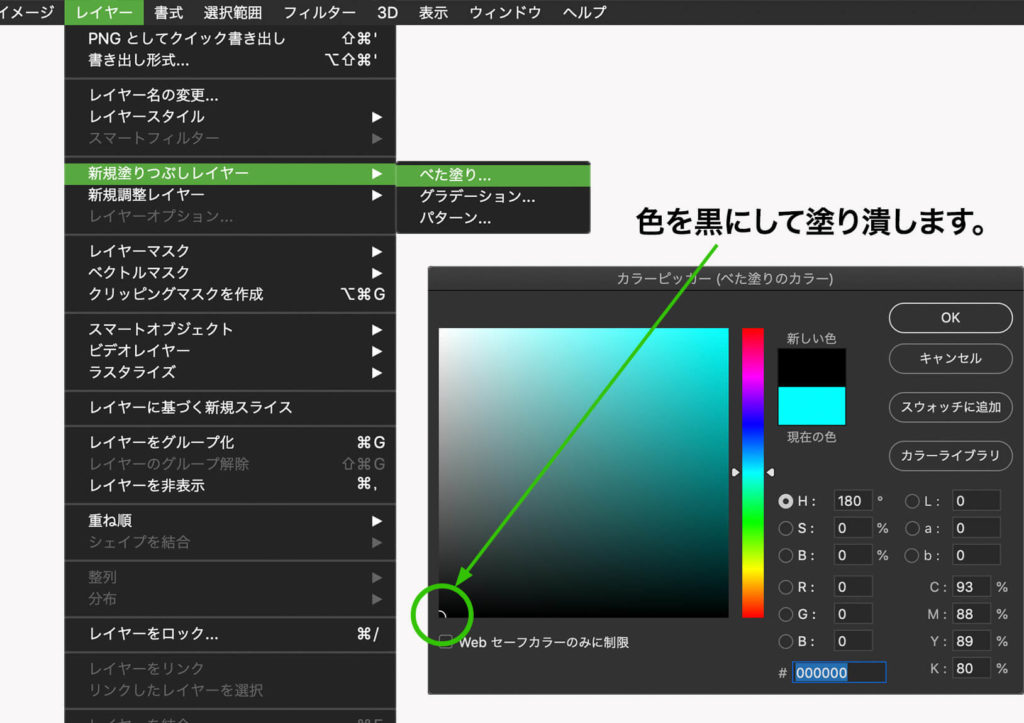
背景を黒くする
まず背景を黒くします。“レイヤー>新規塗りつぶしレイヤー>ベタ塗り…”で黒色にレイヤーを塗り潰します。
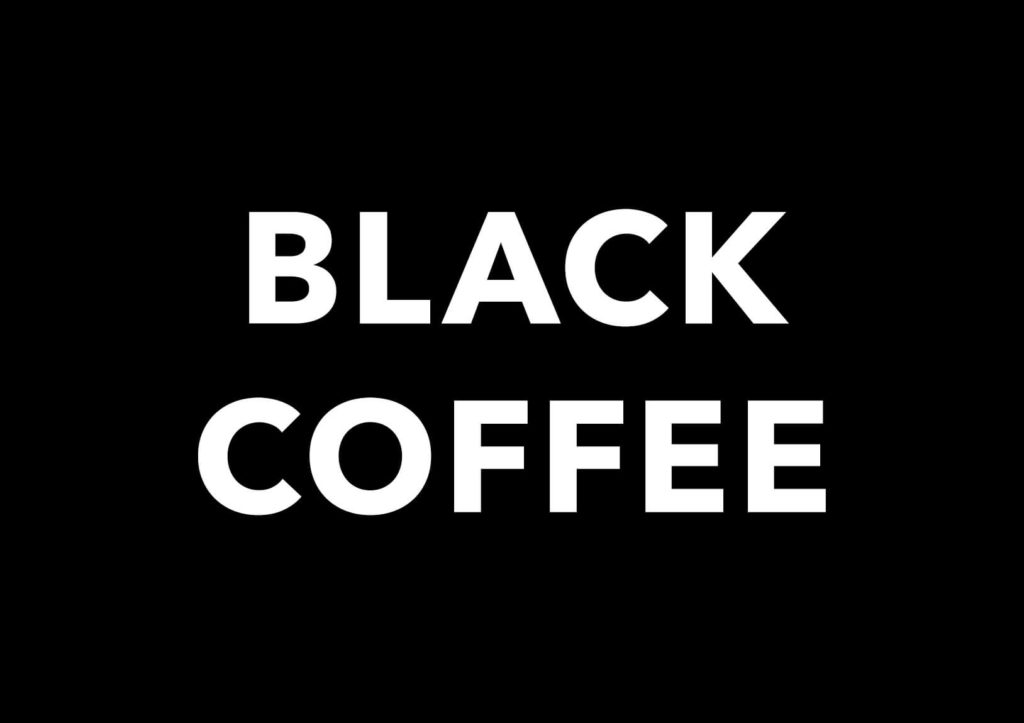
テキストを入力
次にテキストを入力します。言葉に深い意味はありませんがとりあえずこんな感じで。
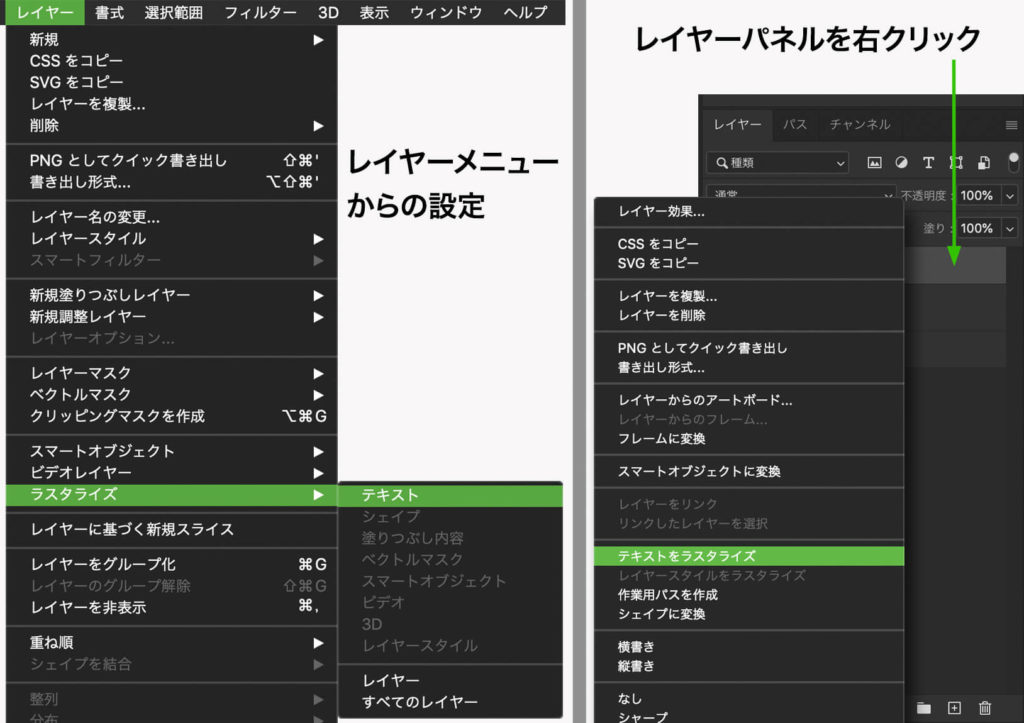
テキストレイヤーを通常レイヤーに変換
先ほどのテキストレイヤーを通常レイヤーに変換します。レイヤーメニューから“ラスタライズ>テキスト”、またはテキストレイヤーを選択した状態で、右クリック“テキストをラスタライズ”を選択します。
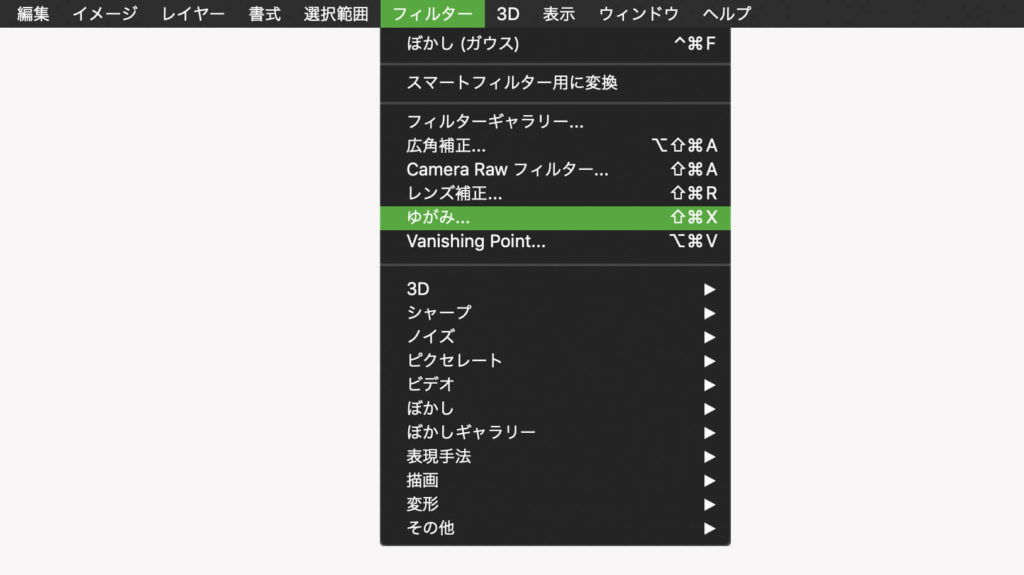
フィルター“ゆがみ”を使って加工
フィルター“ゆがみ”を使ってテキストに揺れたような加工をしていきます。
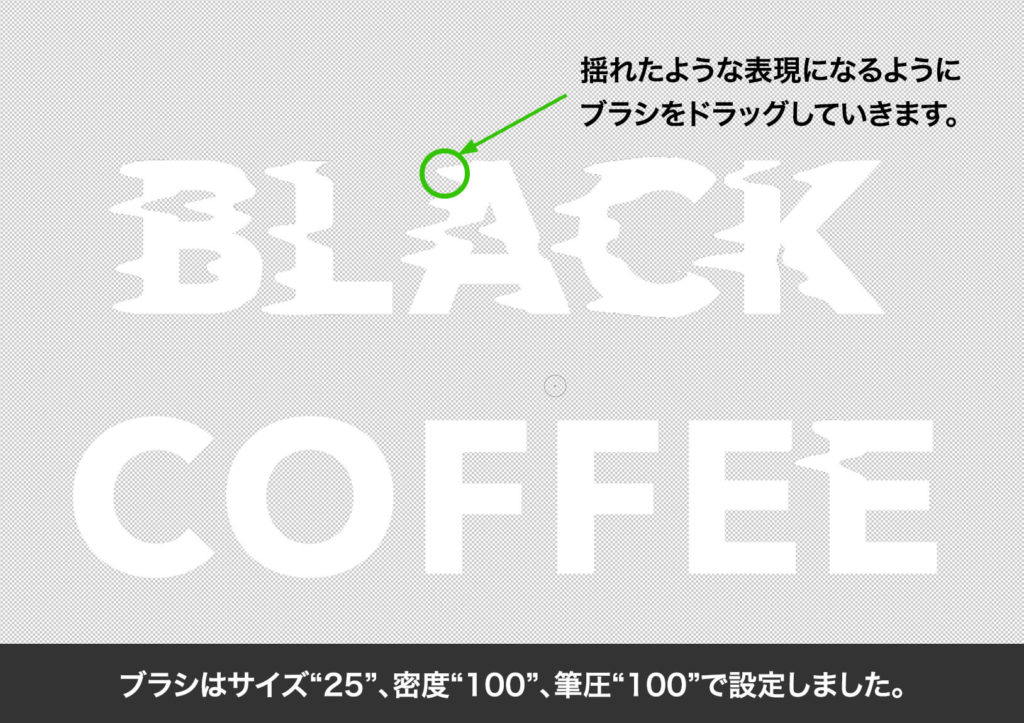
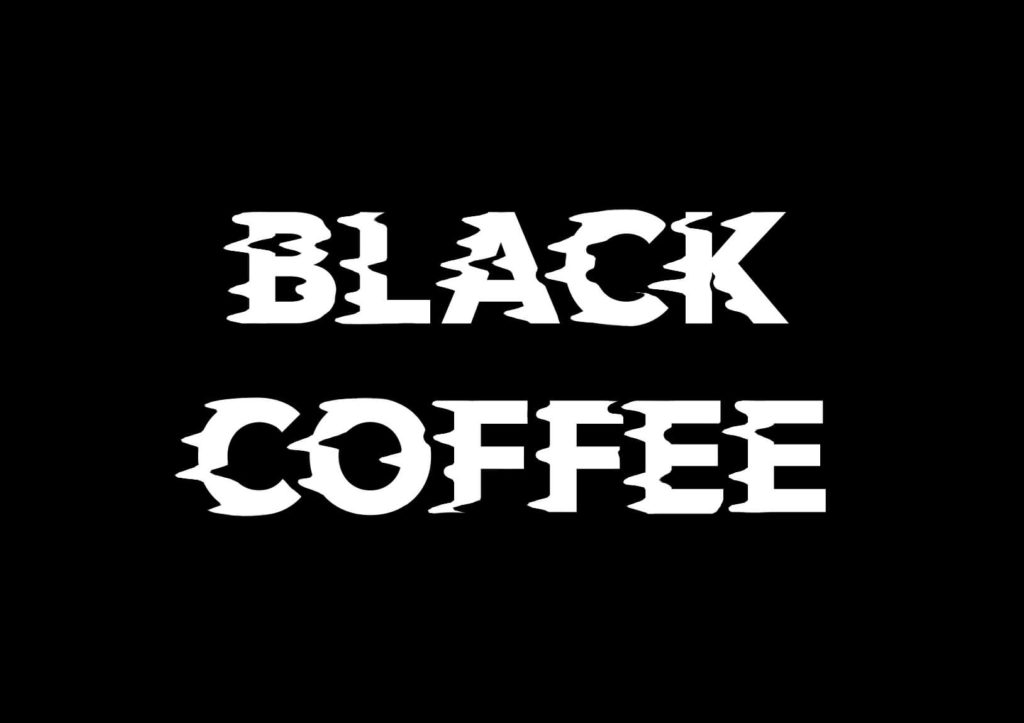
だいたいこんな感じになりました。
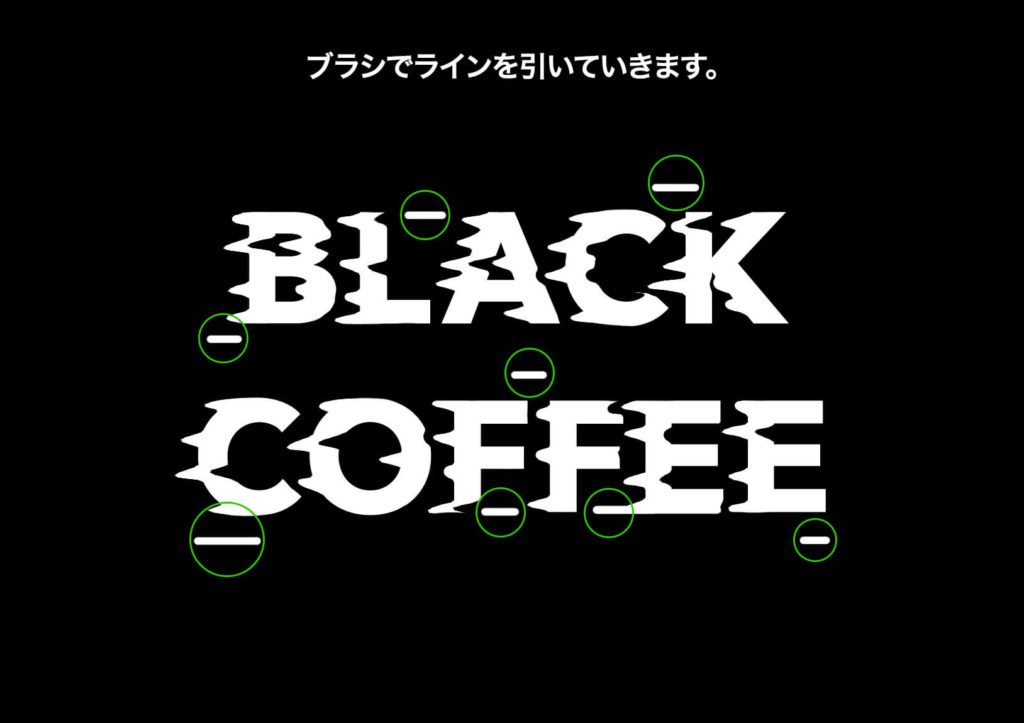
アクセントのラインを作成
このままでも良いかもしれませんが、もう少しアクセントに白のラインを引いていきます。ハード円ブラシ、サイズ20pxで短いラインを引いて数カ所引きます。
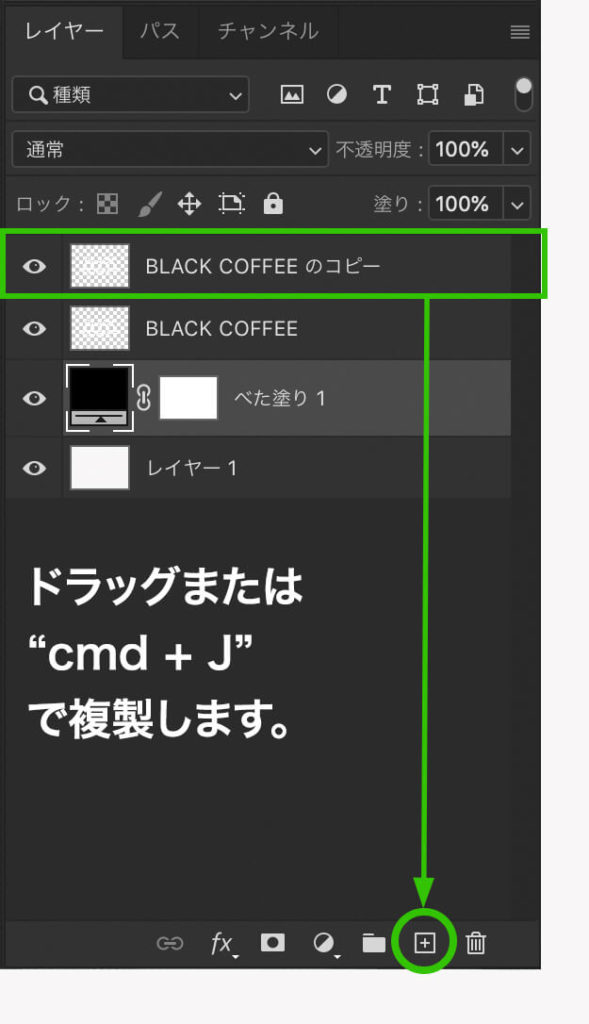
レイヤーを複製
レイヤーを複製します。“ctr + J”またはレイヤーパネル下の“新規レイヤーを作成”ボタンにドラッグします。
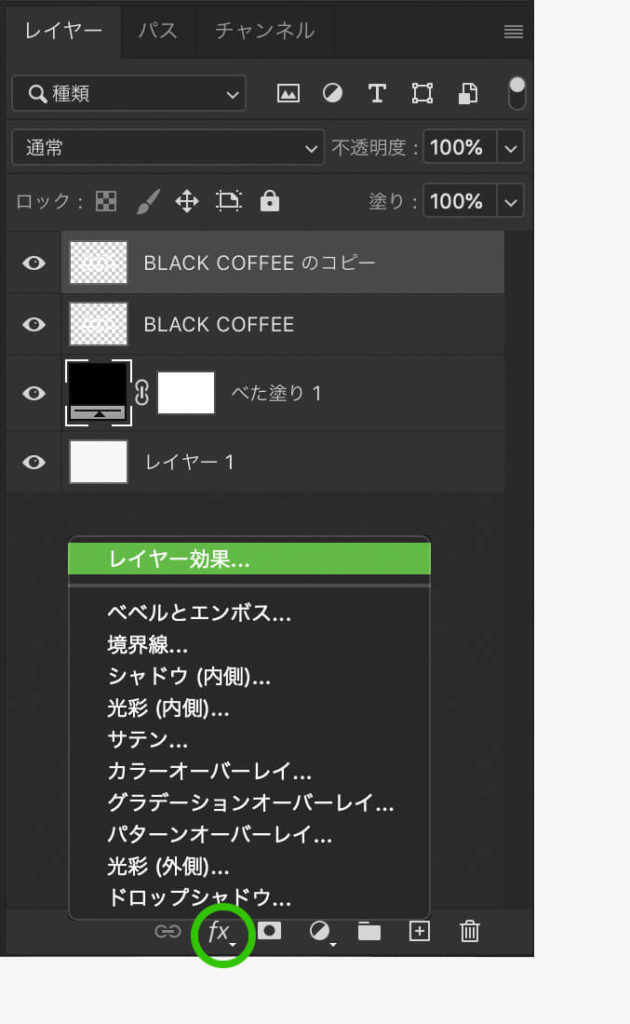
テレイヤー効果の設定
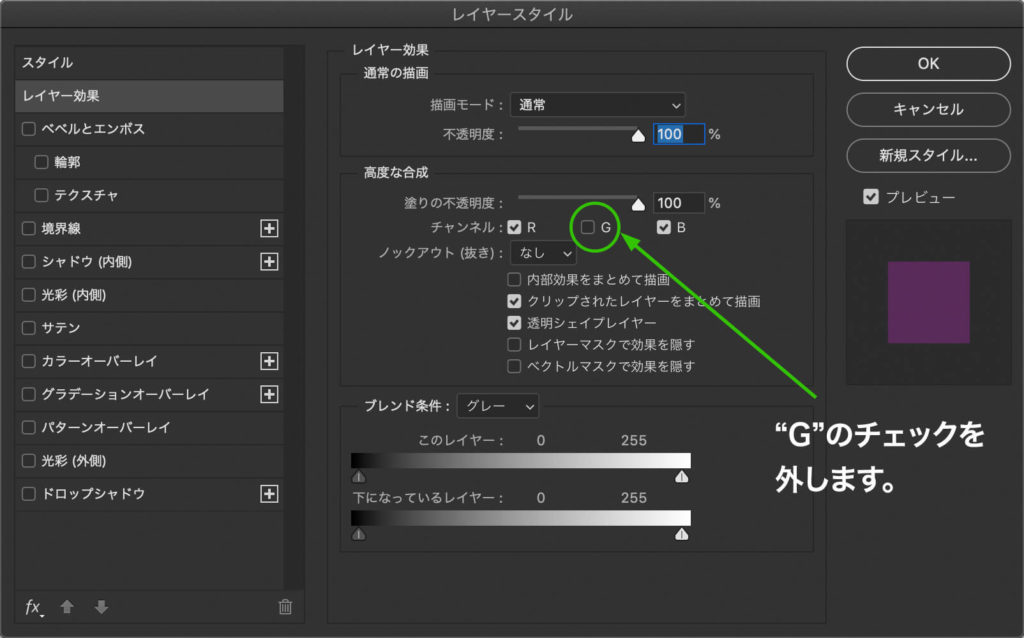
先ほどコピーしたレイヤーを選択した状態で、レイヤースタイルの“レイヤー効果”を選択します。
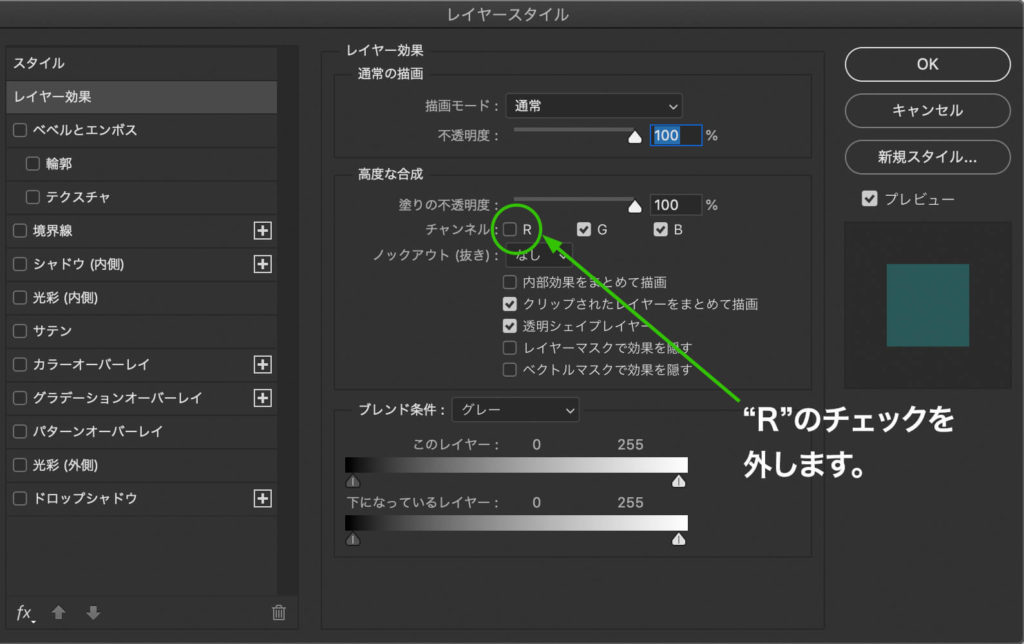
レイヤー効果のパネルを開いたら、チャンネルの“R”のチェックを外します。
レイヤーを移動させる
“レイヤー効果”を設定した画像を、右に動かします。すると画面がずれたような感じで青のラインが現れます。
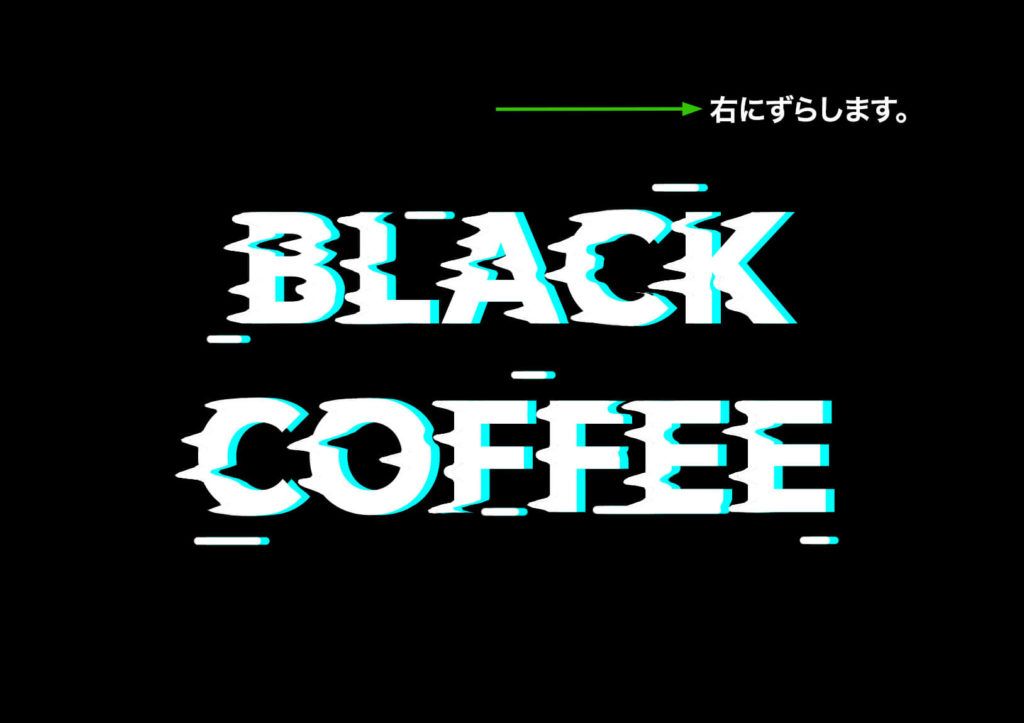
次にコピー元のレイヤーの“レイヤー効果”を選択し、今度はチャンネルの“G”のチェックを外します。すると紫(マゼンタ)のラインが現れます。
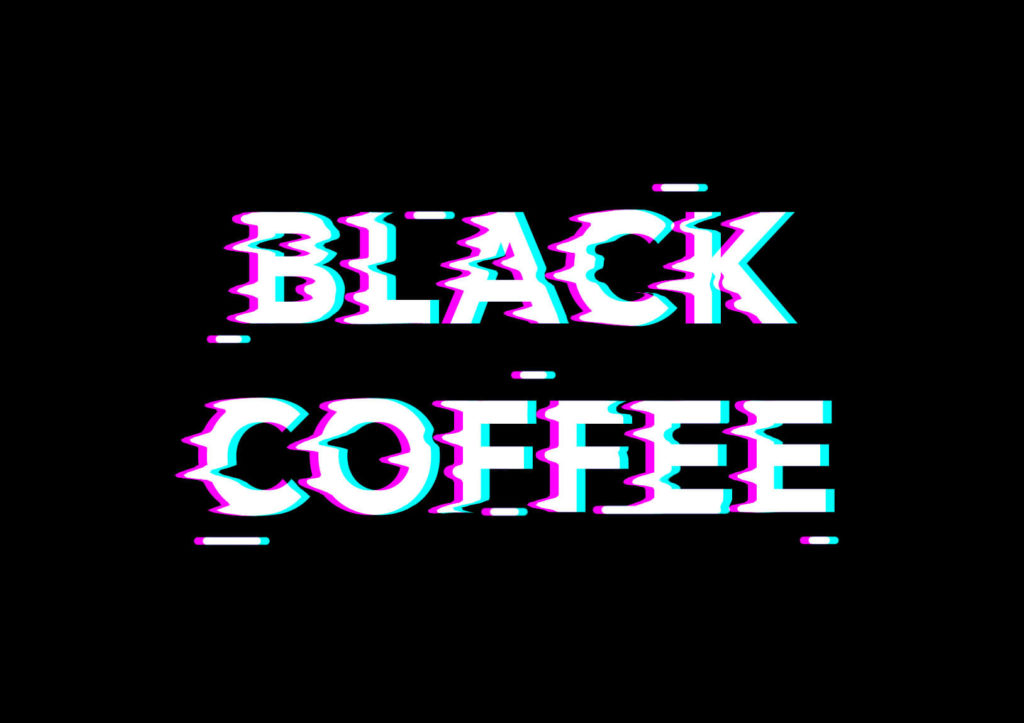
テキストはこれで完成です。
ここからは背景を作り込んでいきます。
背景を作成
まずテキストの2つのレイヤーをグループ化しておきます。
新規レイヤーを用意して、左上の角をマゼンタ、右下の角をシアンで塗ります。
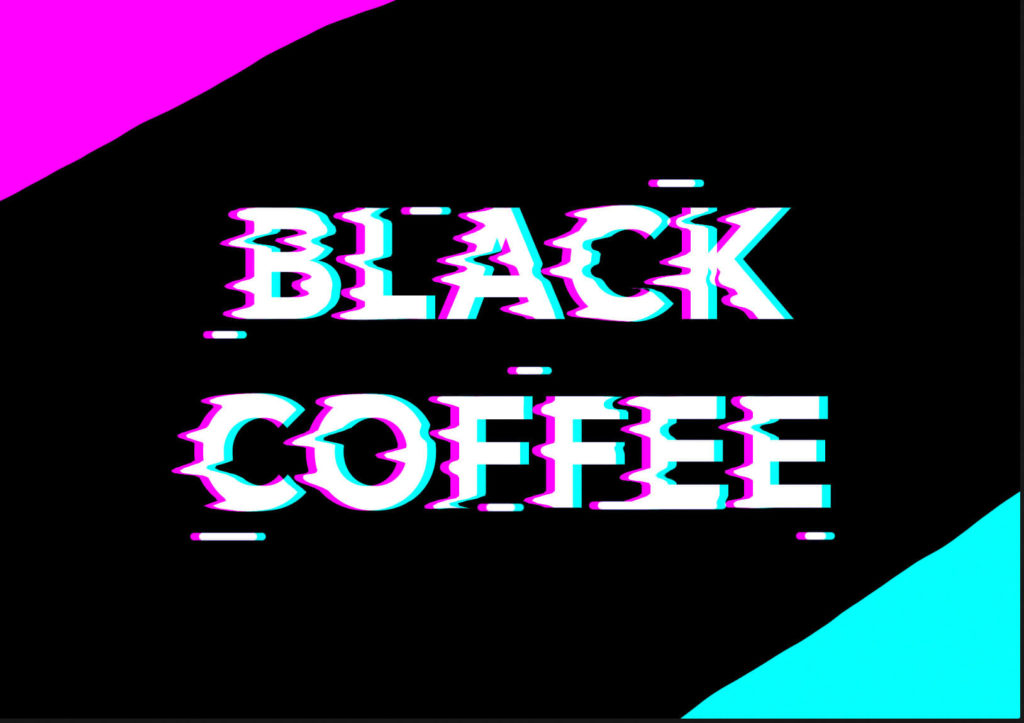
そしてそのレイヤーを“ぼかし(ガウス)”を使ってぼかします。ぼかしの半径は150〜200pxにします。そのあとサイズや透明度を調整して下記のような感じになりました。

サイバーな感じのラインを配置
サイバーな感じのラインを配置して、雰囲気を出していきたいと思います。このような感じのラインを用意します。

これをテキストのフォルダの下に配置します。
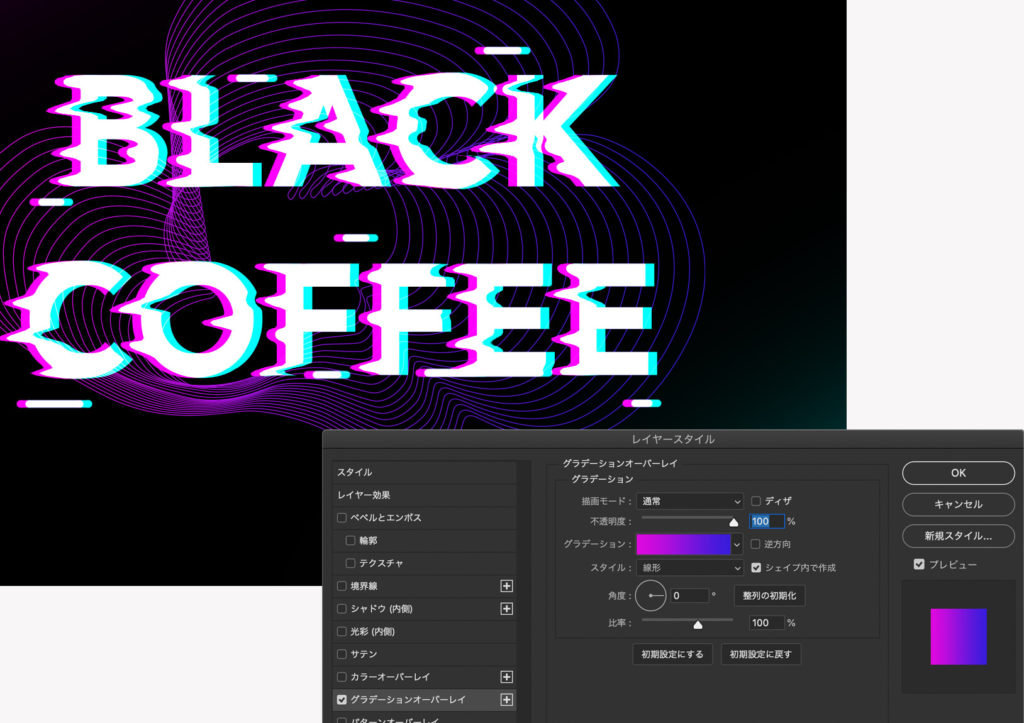
配置ができたら、“レイヤースタイルを追加”の“グラデーションオーバーレイ”で紫〜青紫ぐらいのグラデーションを設定します。
テキストにマスクを設定
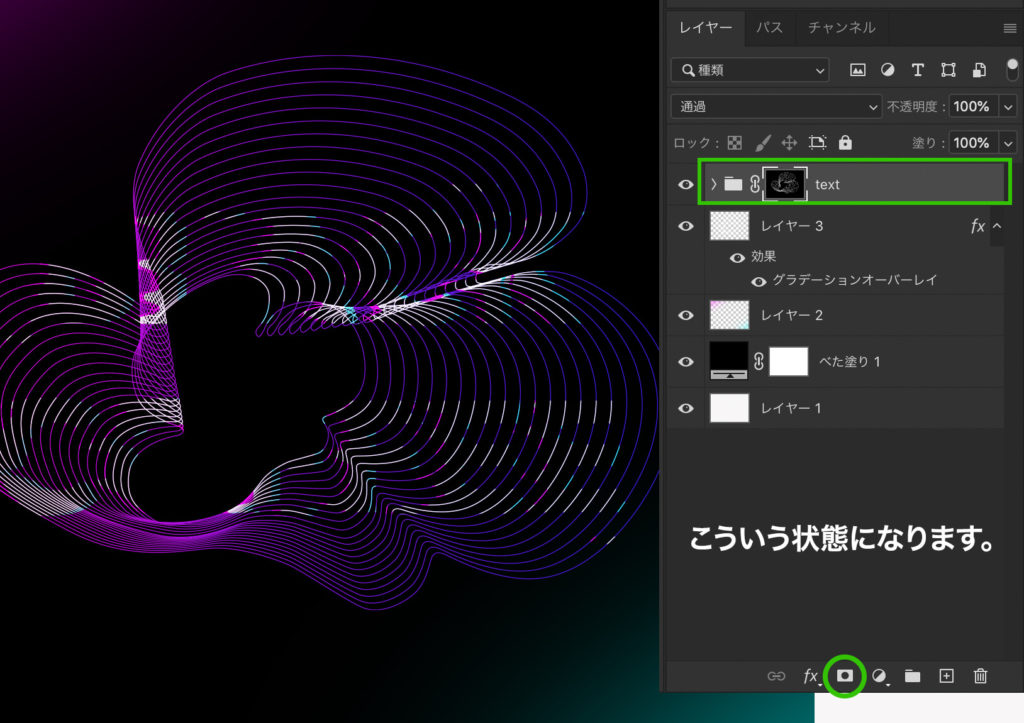
先ほどのラインレイヤーのサムネイルをクリックして、ラインの形の選択範囲を作成します。

次にテキストフォルダを選択した状態でレイヤーマスクを作成します。
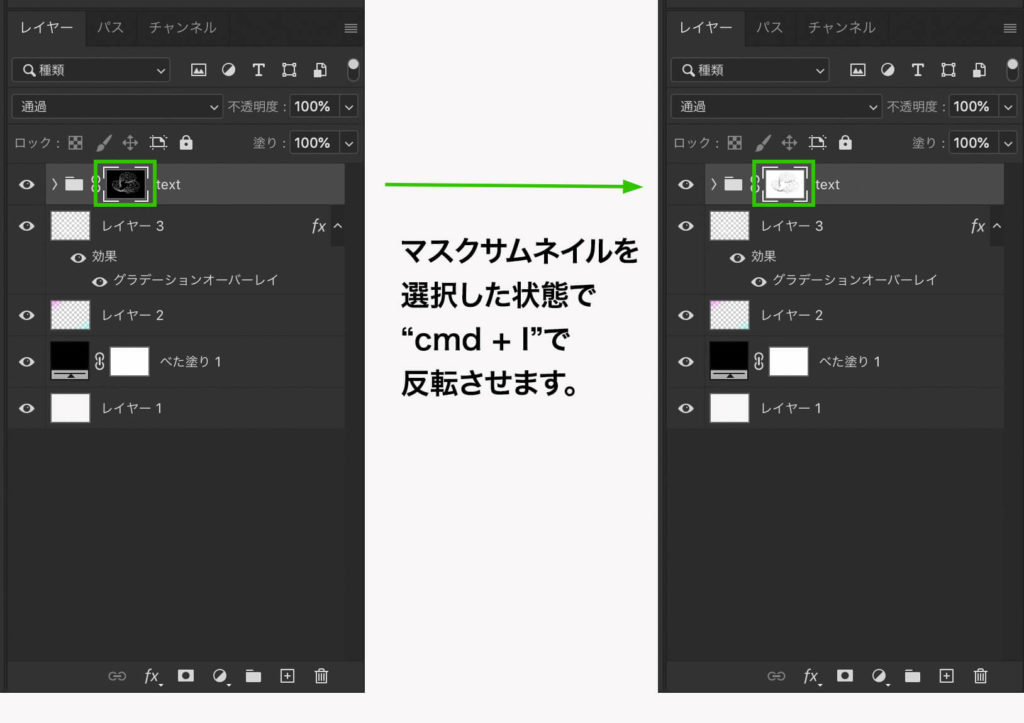
そして、マスクを選択した状態で“cmd + I”を押して選択範囲を反転させると文字が隠れたような状態になります。
不要な部分を消していく
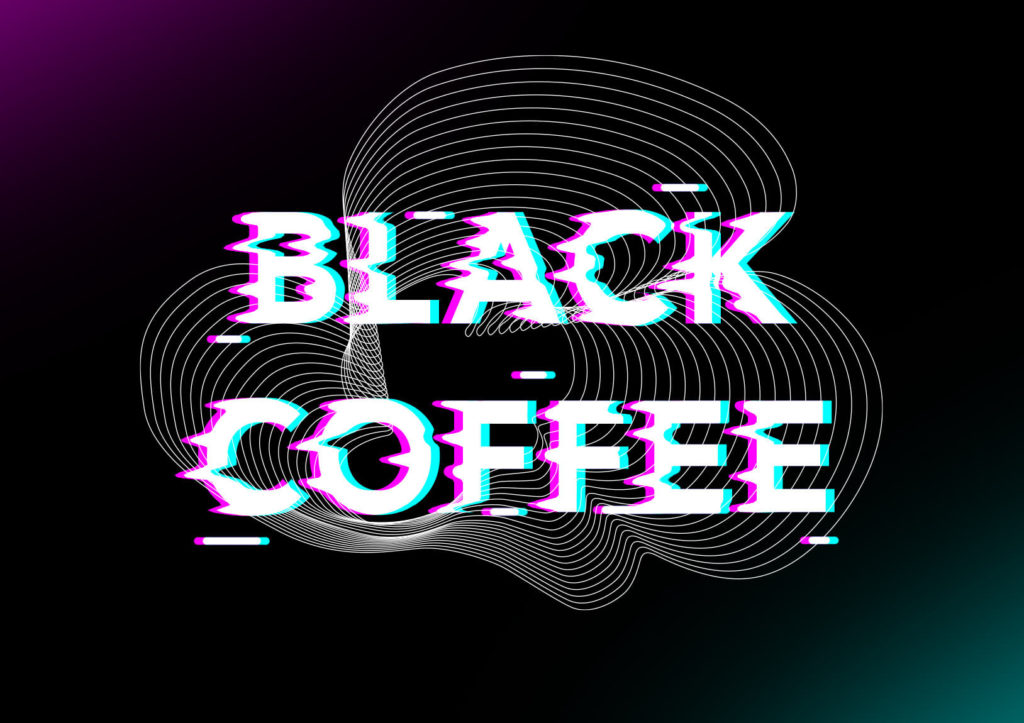
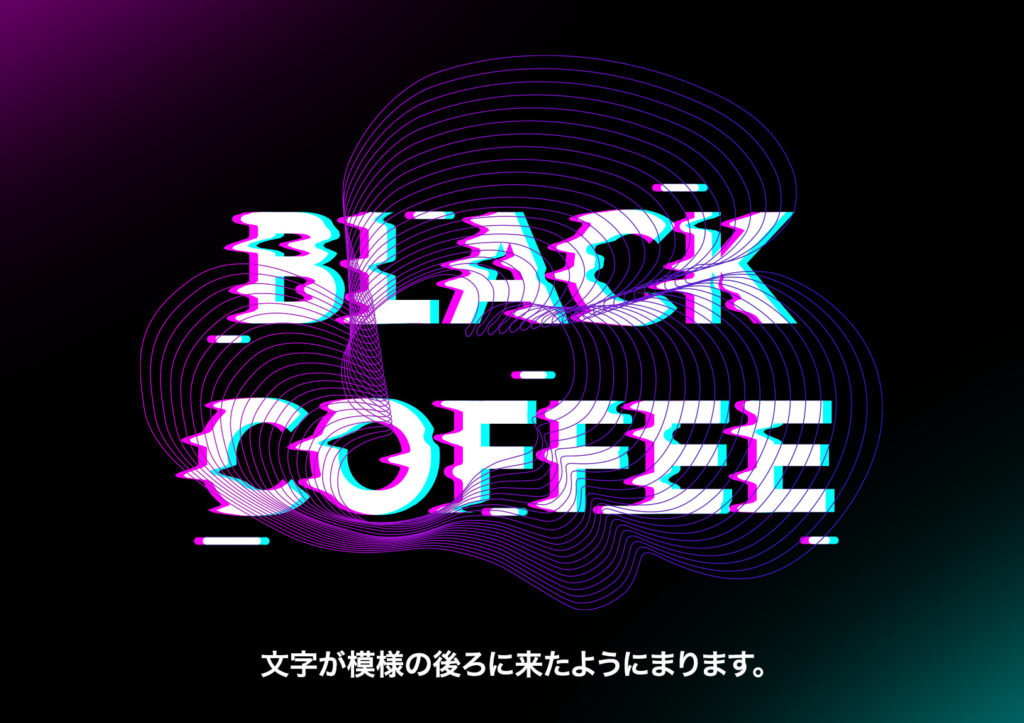
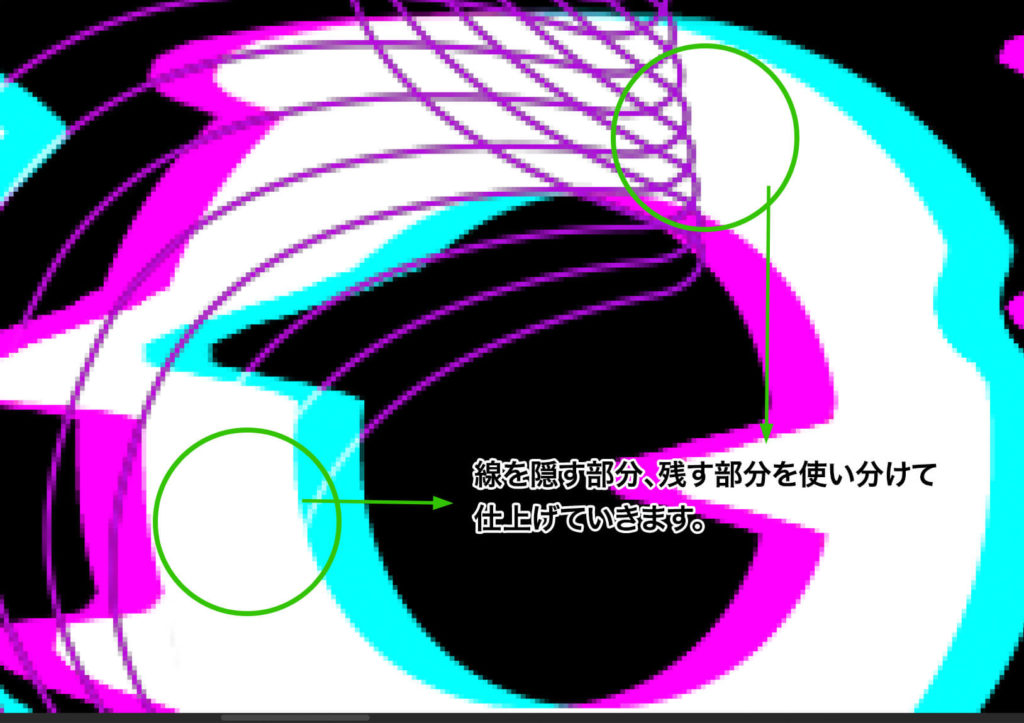
マスクのサムネイルを選択した状態で、マスクをペイントすることで文字と重なっている部分の線を消していきます。この時に文字と重なっている線を全て消してしまうと、ただ線が後ろにあるだけになってしまうので、所々で線を残して絡まっているようにするのがポイントです。
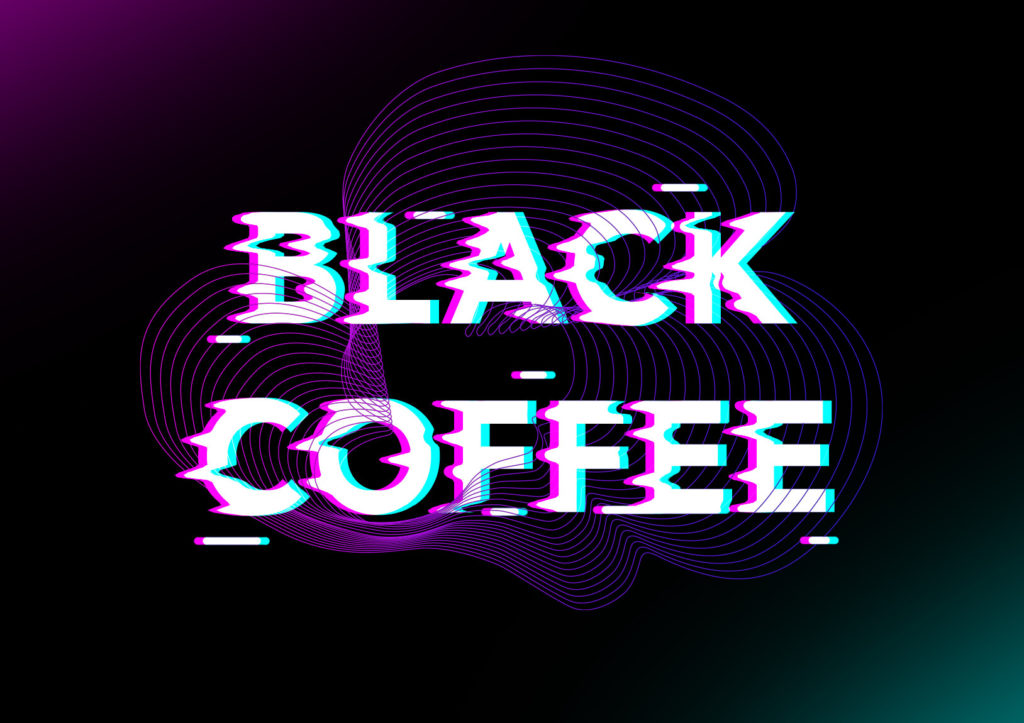
完成
いい感じにできたら、完成です。